Hopefully you just finished installing the Melissa Frusco preset! If you’re looking for an installation guide, one is included in your download or can be viewed here.
-
 Melissa Frusco Preset$20.00
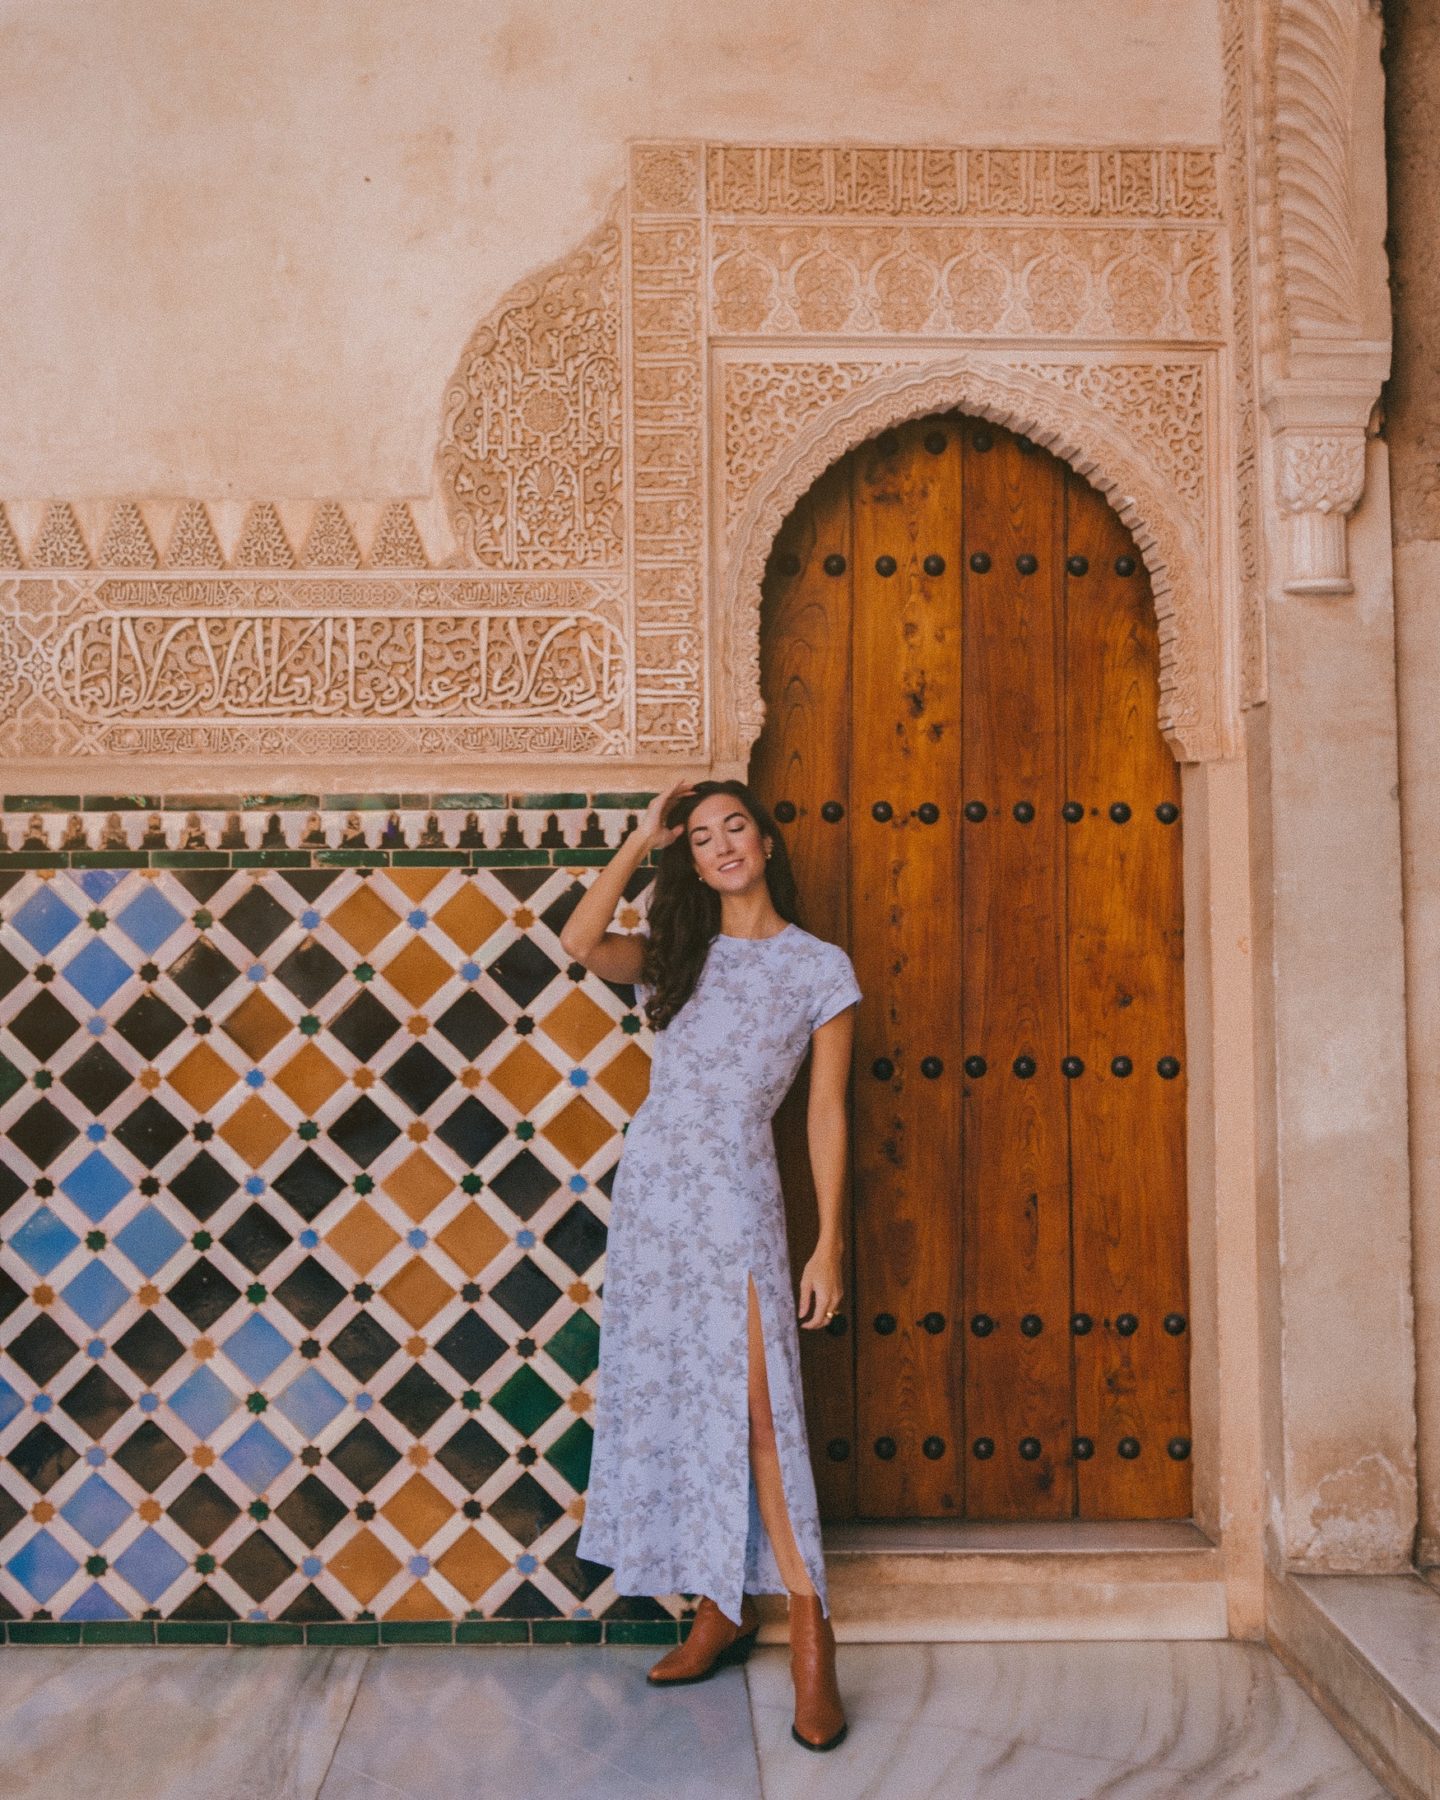
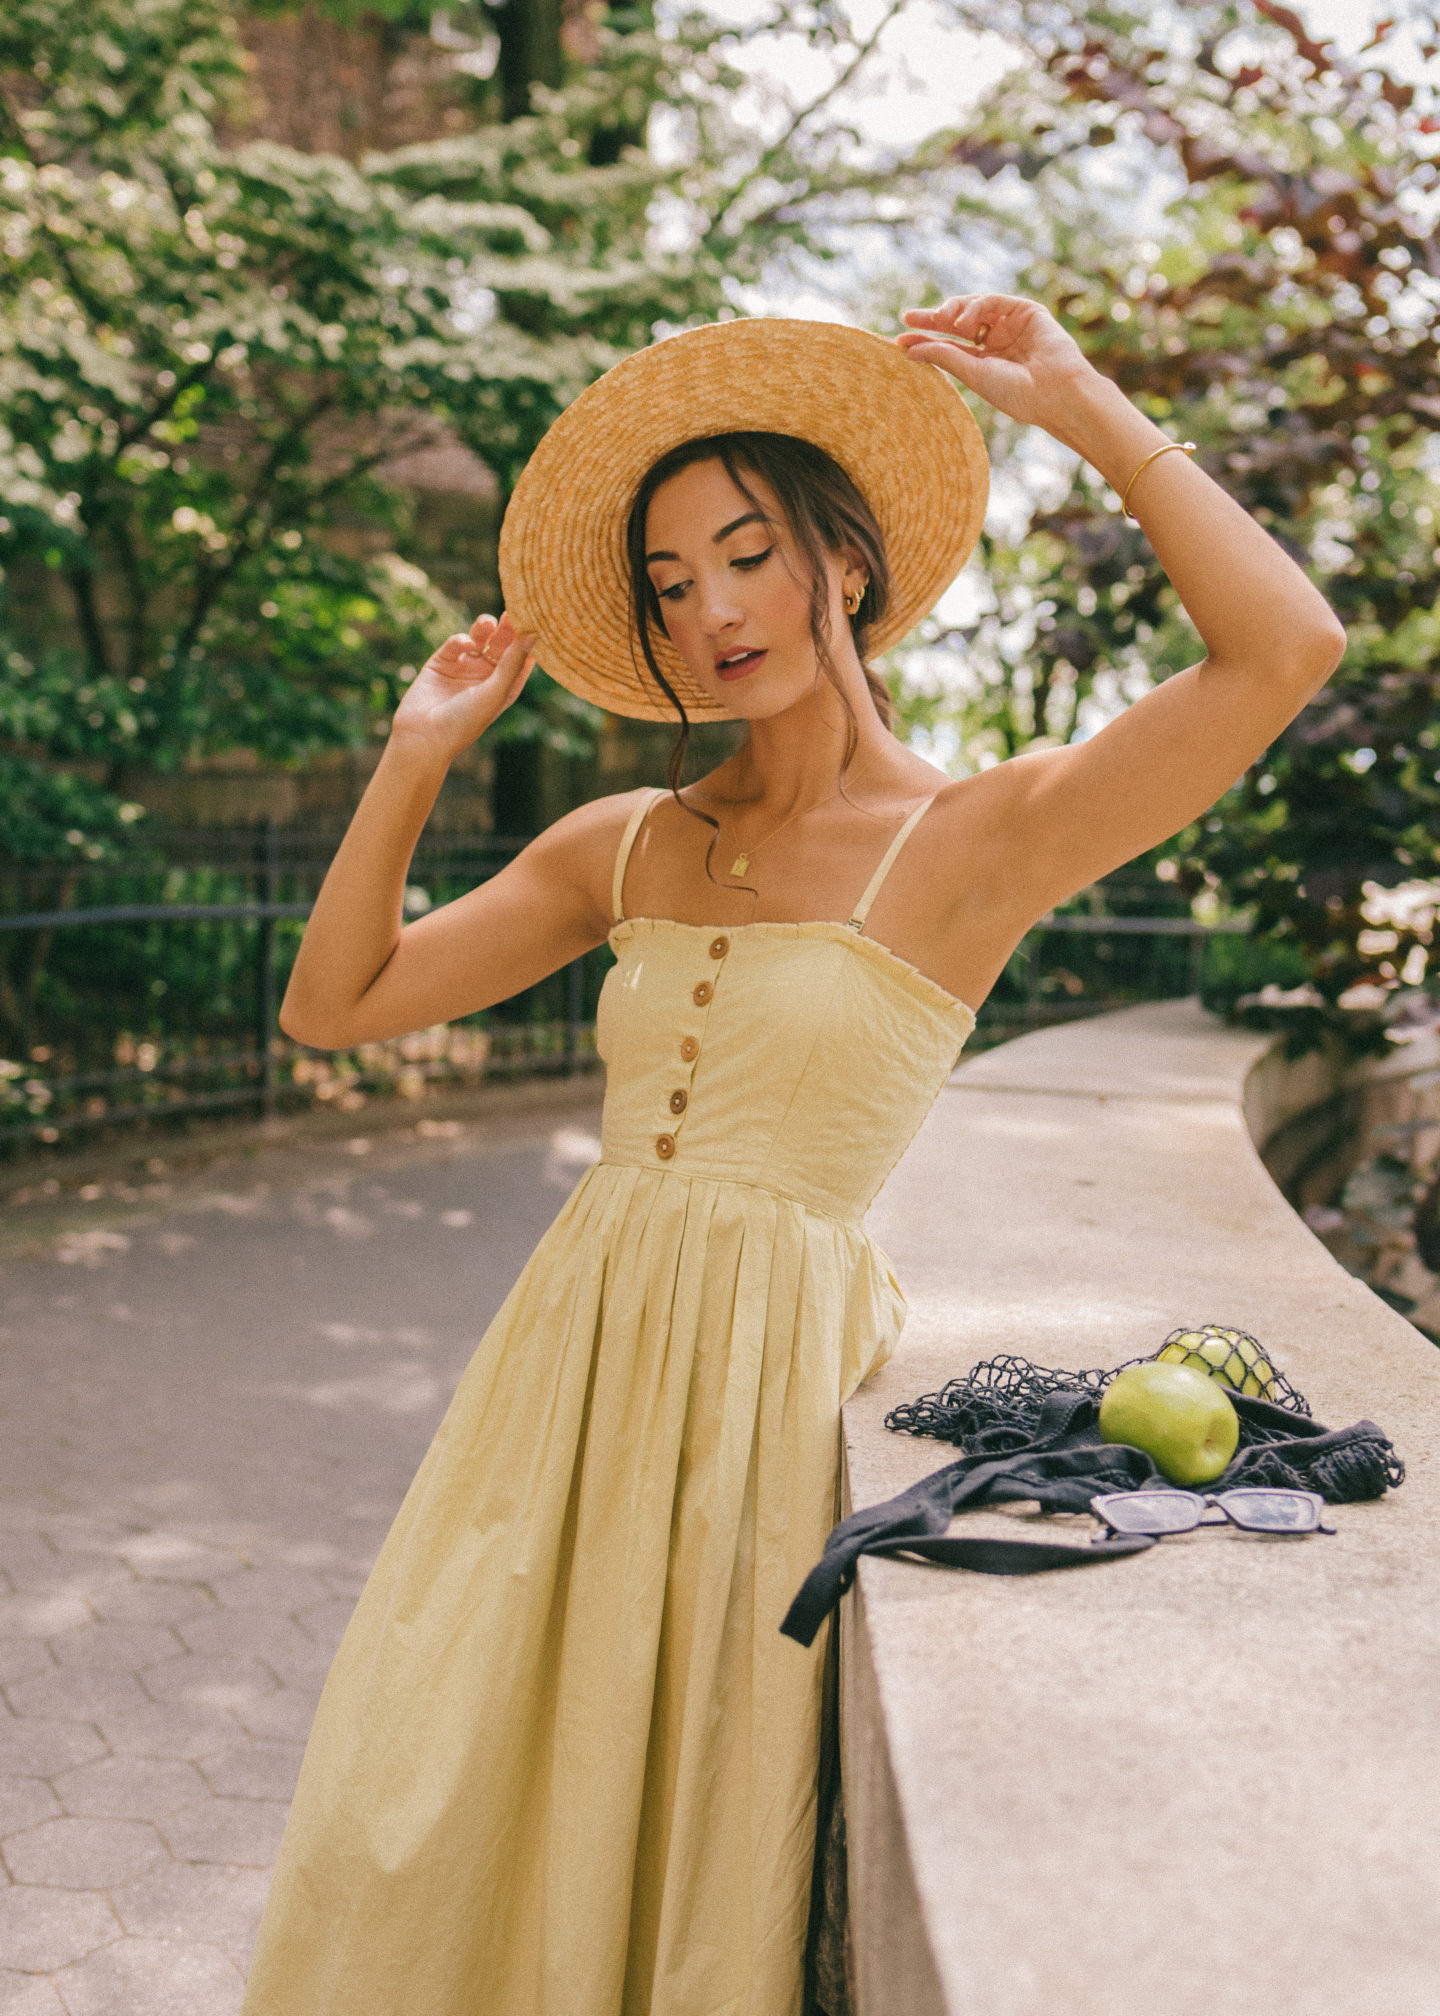
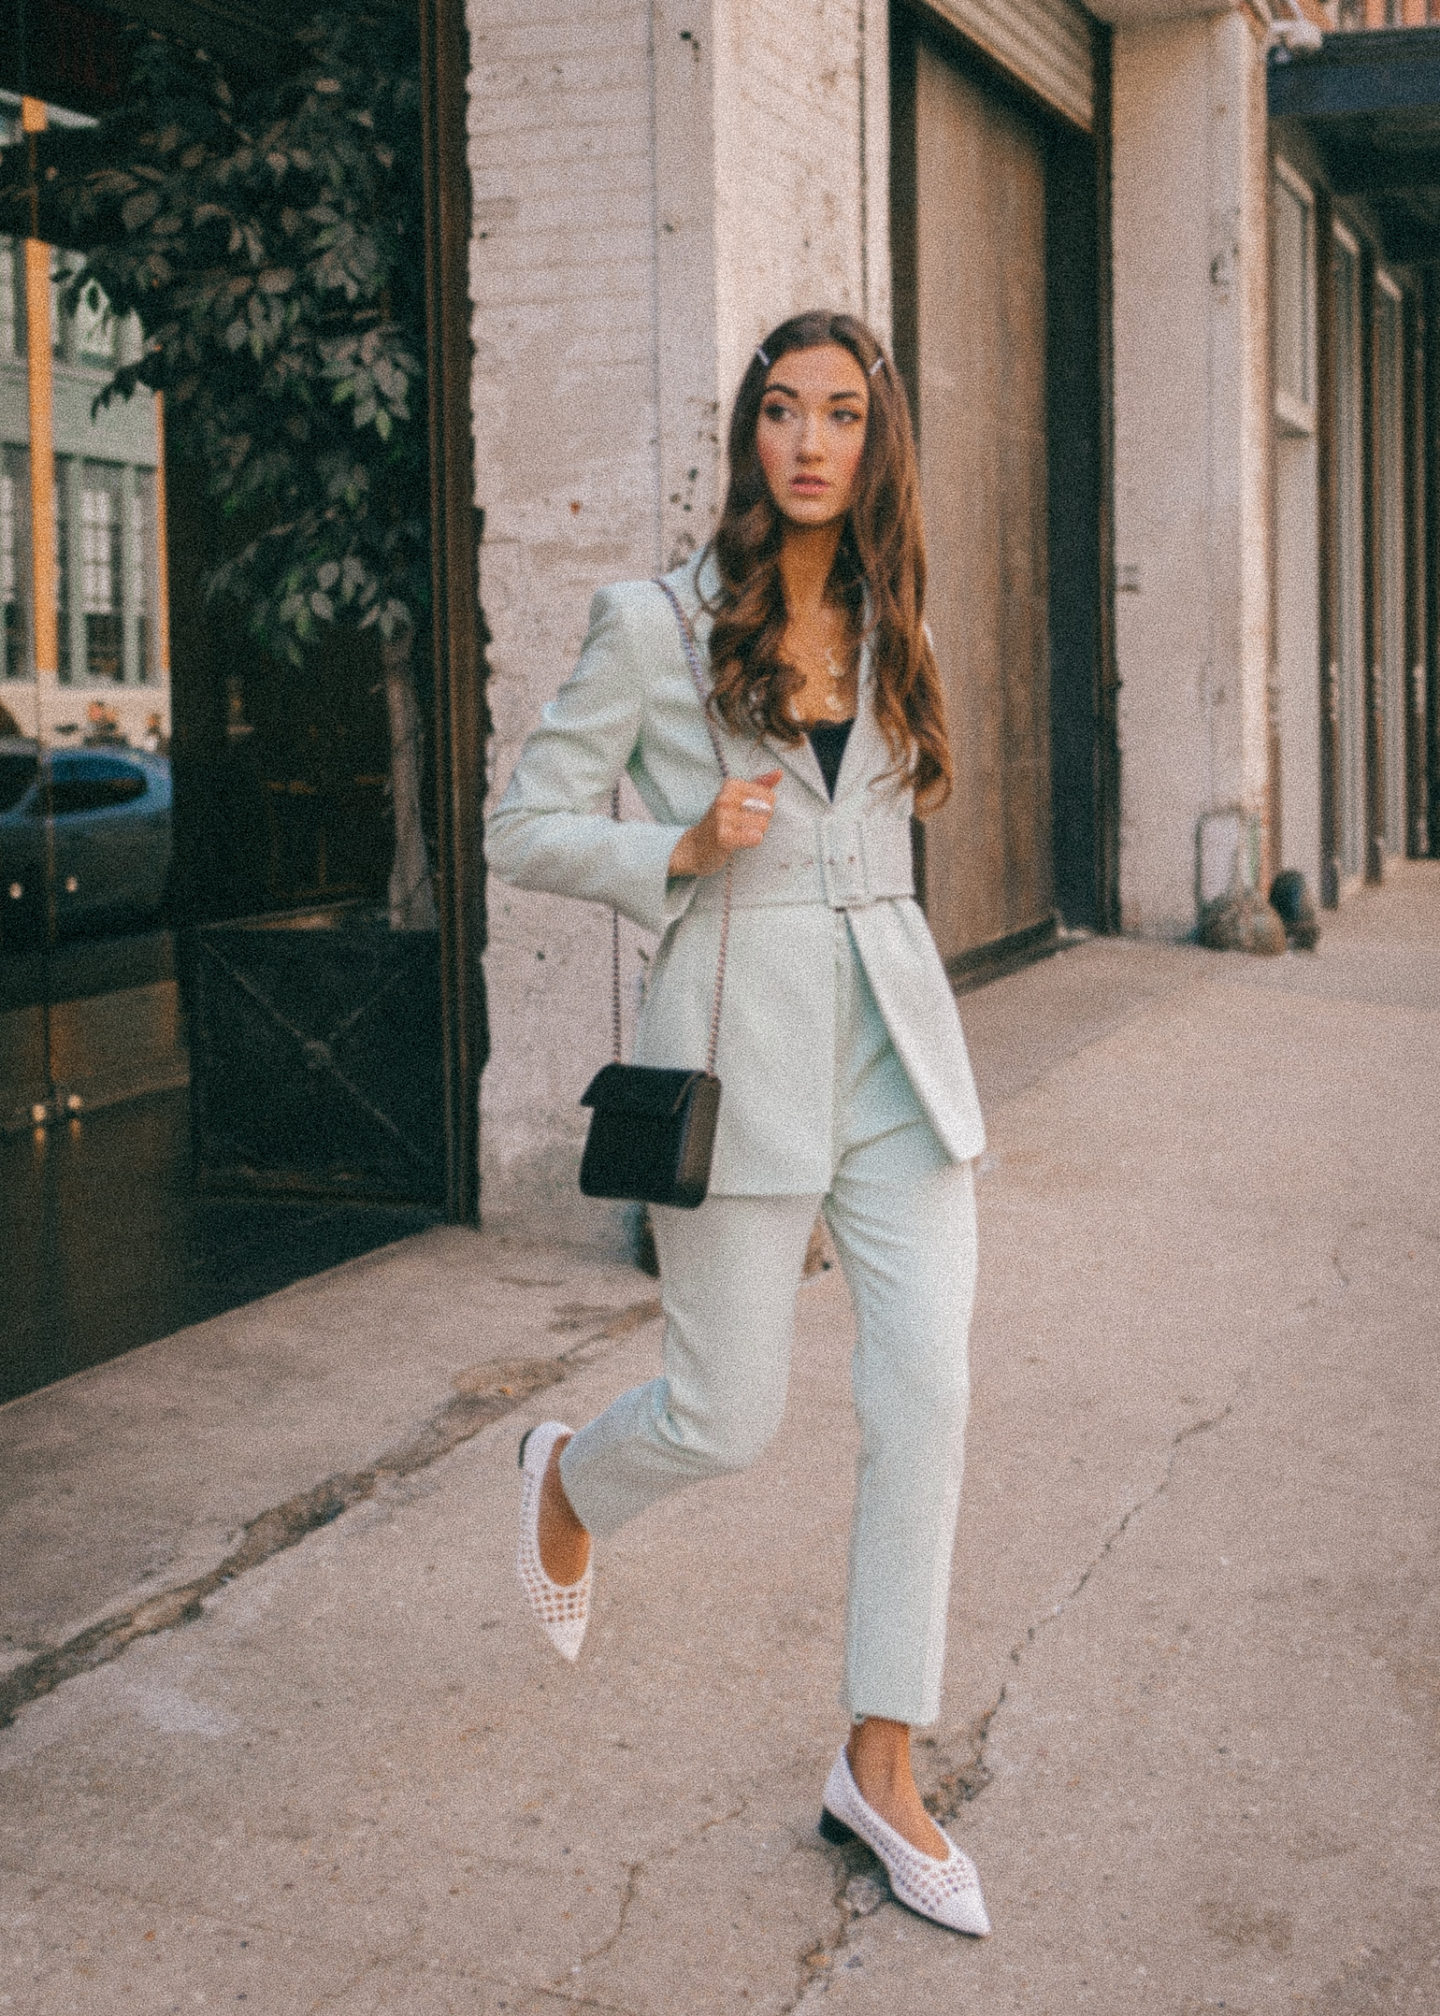
The Melissa Frusco preset has been customized over time to fit not only my aesthetic, but also my physical traits (meaning hair color, skin tone, etc.). You may need to adjust light settings to accommodate your photo and tweak specific colors to best suit your physical characteristics.
This preset was designed for use on RAW images, but can be easily adjusted to suit iPhone/JPEG images! I’ll highlight specific iPhone/JPEG adjustments throughout the editing tips below.
Editing Tips
Every photo is different and presets are not one size fits all. Based on the lighting, composition, etc. every photo will require some tweaking on your end to get the most out of the Melissa Frusco preset. Below you will find my most common adjustments when using my preset.
If you’re looking for a basic overview of Adobe Lightroom and it’s features, check out one of these tutorials Lightroom Classic Desktop / Lightroom CC Desktop / Lightroom Mobile App .
Light
Exposure – Increase or decrease to lighten or darken your photo. This will be your most common edit!
Blacks – Decrease the brightness of blacks (-) to bring out detail in a full sun photo or increase brightness of blacks (+) to soften shadows. See below…

Decreased Increased

Color
Orange – This is the best way to adjust your skin tone. I like to give myself a little extra tan, but sometimes, especially in direct sunlight, orange can look TOO saturated and you end up looking like a Cheeto.
To fix this, open Color Tab > Color Mixer and 1. reduce saturation 2. add luminance.
These two adjustments will allow you to correct your skin tone for various lighting scenarios. If you want to add color or darken your complexion, do the opposite of the above (increase saturation, reduce luminance).
iPhone/JPEG Tip – Orange and warm tones will be very intense! Before you panic, reduce the warmth and orange saturation for a quick fix!
Green – To increase or decrease saturation of trees and plants, simply adjust via Color Tab > Color Mixer.
Yellow – I like to edit my yellows to be more red than green (for a peachy look). This isn’t something I usually change unless I’m wearing yellow/light green and my clothes look distorted!
More Red More Yellow
Effects
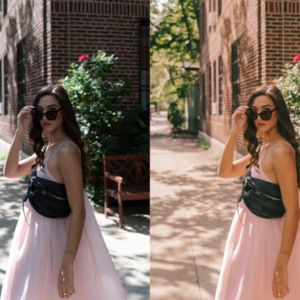
Grain – Increasing grain will give your photo a vintage feel! It also flattens and reduces fine details. If you’re shooting on a less advanced camera, you may want to reduce grain for a clearer image. The photos below illustrate this contrast.
iPhone/JPEG Tip – reduce grain (under 25) to up the quality of your photo!
More Grain Less Grain

My #1 tip….play around! You truly can’t mess up, and playing around is the only way to get familiar with Lightroom editing! If you don’t like something you changed or want to go back to your original image, you can undo using COMMAND+Z or revert to your original image using SHIFT+R.
Copying Changes – If you are editing a batch of similar images, you can copy and paste your edits from one photo to the next! This will restore your adjustments made to the photo. On desktop, simply use COMMAND+C on the edited photo, click on the photo you wish to edit and use COMMAND+V. On the mobile app, tap the three dots (…) at the top right corner and select ‘copy settings’ on the edited photo, then select the new photo you with to edit and select ‘paste settings’.
